Lesson Plan
Mosaic Masks
Grade Levels
Intermediate, 5th Grade, 6th Grade, 7th Grade, 8th Grade
Assessment
Looking at the finished Mosaic Masks, ask the following questions:
- Did the Mosaic Design use 2 or more design elements( repeat, overlap, balance, contrast, emphasis, variety, unity)?
- Did the student artist create a mosaic design unique to his/her classmates?
- Were the art visual elements (line, color, shape, value, texture, form, and space) used in a coordinated order?
- Were the mosaic paper tiles and glue used correctly?
- Was the final shape of the mosaic mask relating well to the entire mask design?
Author
Sandra G. Smith
Art Teacher
Gloversville Enlarged School District
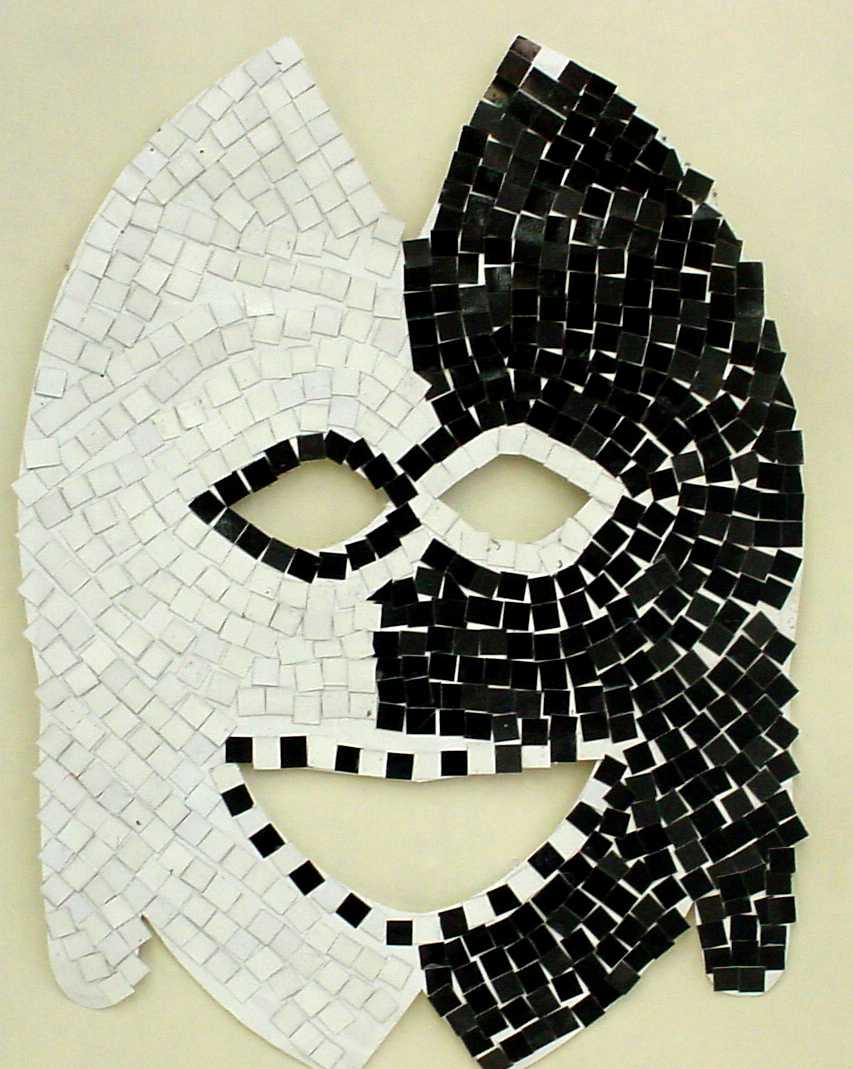
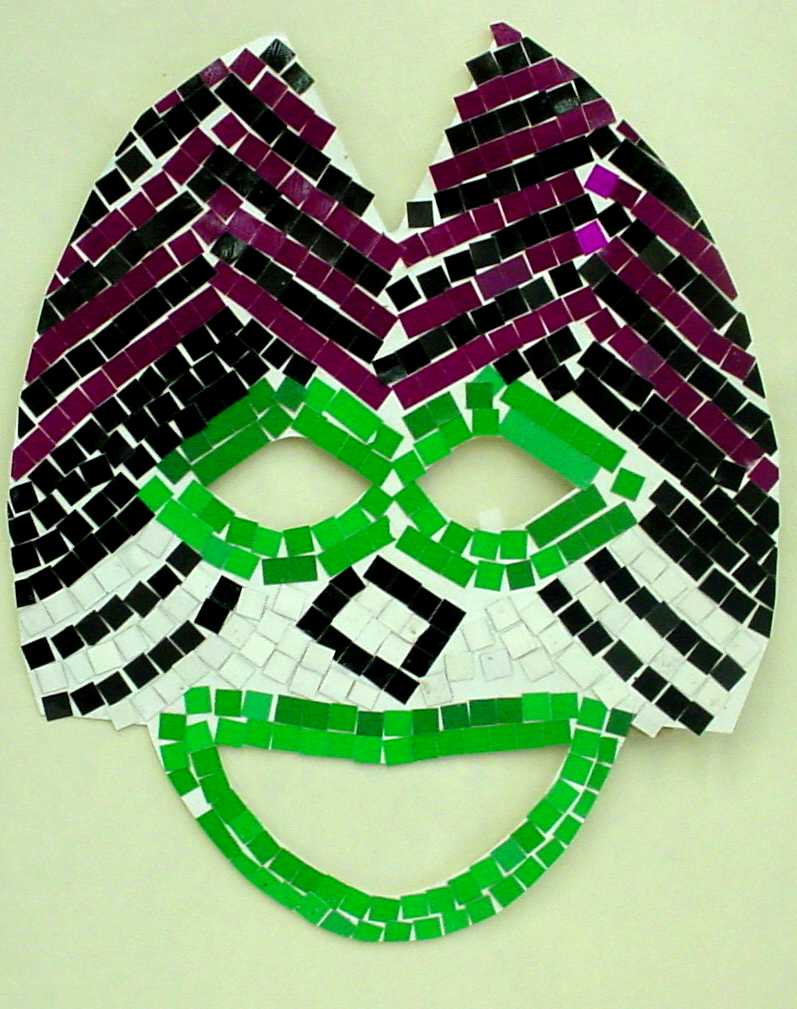
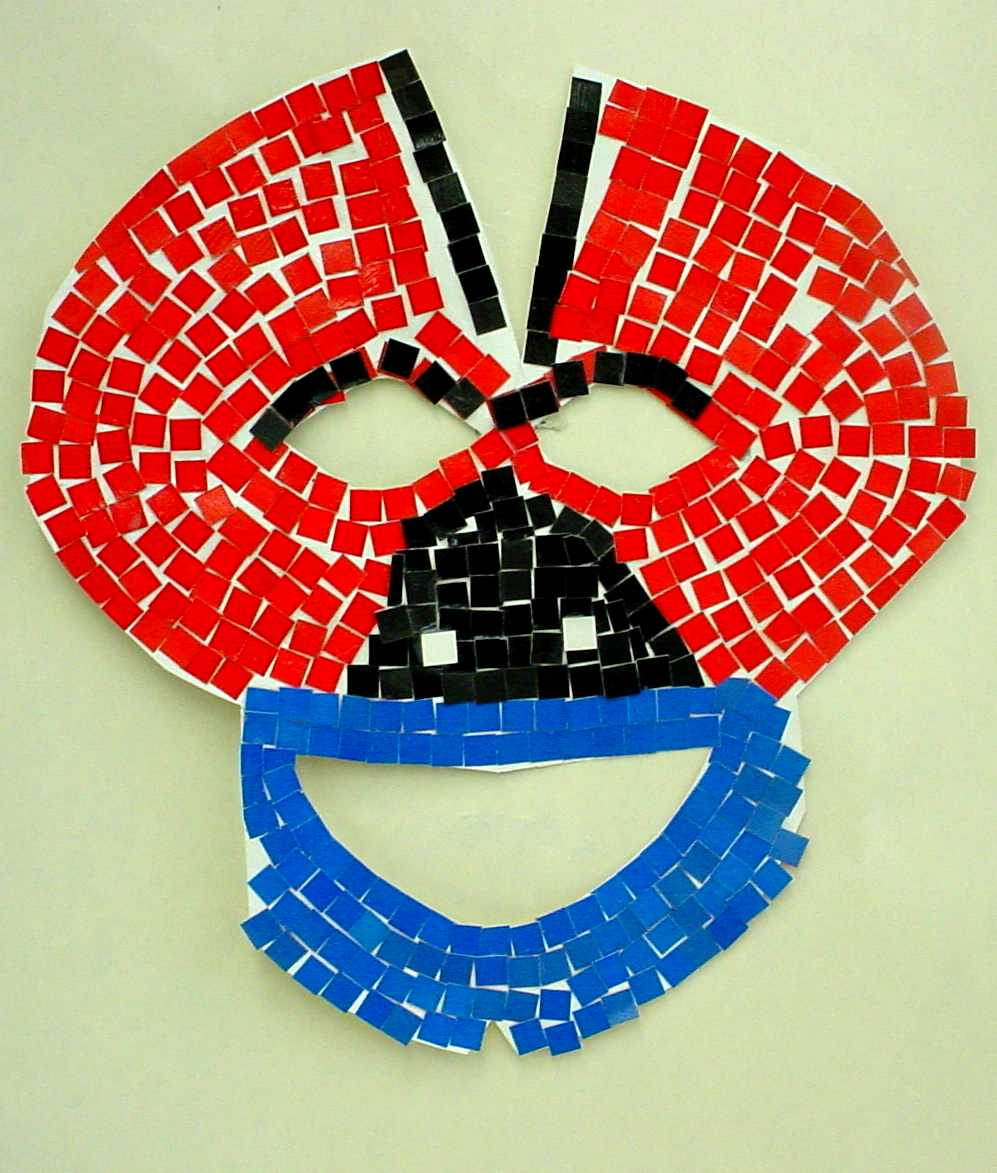
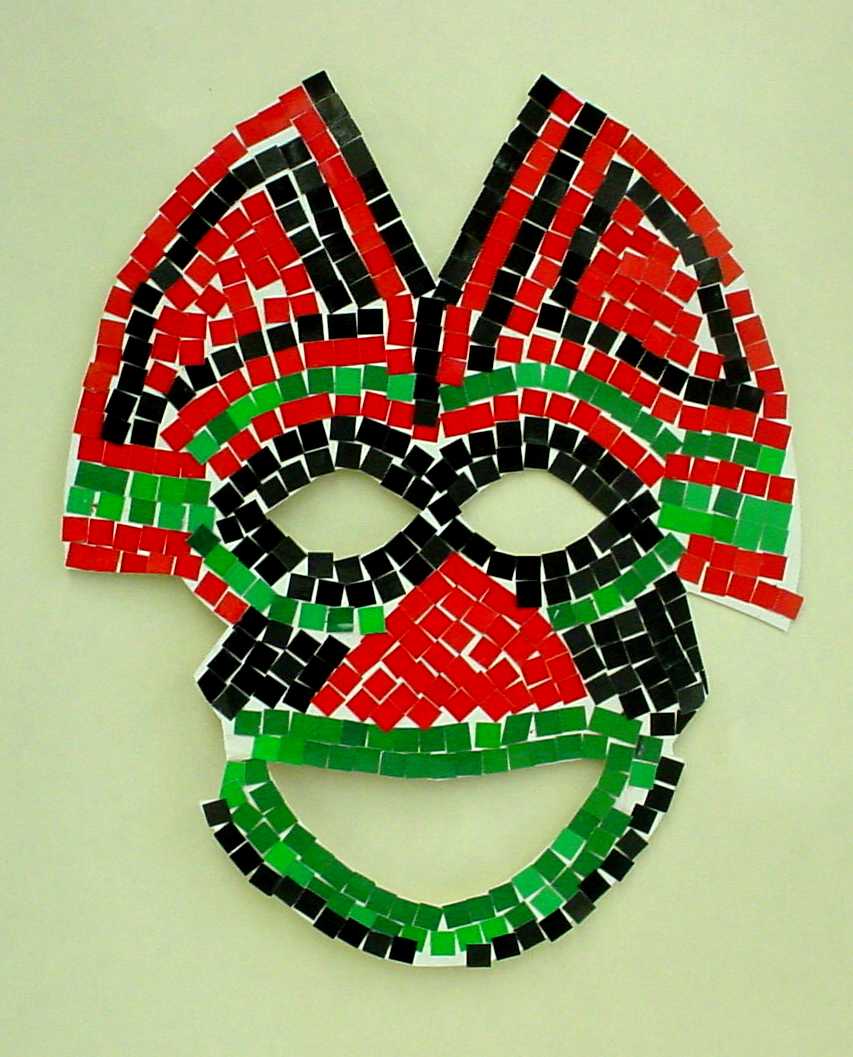
Photographs of Student Artists Mosaic Masks
Click on the links below to view selected examples
Duration
Four 40-minute art periods (1 per week)
Essential Question
After looking at the historical designs of mosaics, what design will you as an American Artist create to make a Mosaic Mask?
Additional Notes
Student artists will finish at varying times. Accept this and plan
accordingly by doing the following:
- supply a generous book supply of mosaic examples
- encourage student artists to help others finish their work ( understanding
that each student artists may not have mosaics as their favorite media and
therefore to finish a work with good intentions is acceptable)
- provide an area to draw new mosaic designs
Description
HISTORICAL BACKGROUND FOR THE LESSON
Mosaics date back to Pre-Columbian in Mexico, The Ancient Grecian and Romans, the Renaissance, the Victorian Age Nouveau Art, leading up to the latest contemporary mosaic work. The decorative potential of mosaics can be seen in all o f these historical art periods.
The early Greeks used designs originally inspired by carpets and usually had a central panel with a surrounding border.
The fashion for mosaic grew in Italy with a much simpler black and white style. Mosaics were not only owned by the wealthy who could afford the elaborate designs, but the mosaics were also needed to decorate new communal places like public baths as well as shops and houses.
During the Renaissance, there was a decline in mosaic artistry.
During the Byzantine Empire (Turkey, Istanbul more specifically) Mosaic work was much more encourage. The church used mosaics from the floor to the ceiling. They used glass material to create glowing areas of color. The Arab mosaic tradition of the late Byzantine Empire saw white marble chips in an arabesque fashion with stylized images of palms and plants.
Art Nouveau saw a vibrancy to the mosaic media. Gustav Klimt was a famous artist w created a series of mural mosaics using ceramics. ( clay)
In the 1970's and 1980's public art, often referred to as community Art was prevalent. Mosaics were an ideal medium for community art. They were permanent and weatherproof, requiring little or no maintenance.
Contemporary artist now are using the mosaic technique for experimentation in individual designs. Japan, Norway, Egypt and Canada are to name a few of the countries who have exhibiting living mosaic artists.
You will now become a contemporary living American student artist, designing and creating a mosaic mask.
LESSON SUPPLIES:
- Elmer's Glue
- Scissors
- Bags of paper "Mosaic Tiles" (can be purchased through Dick Blick Catalog)
- Precut Oaktag masks ( can be purchased through Dick Blick catalog)
- Crayons
- Pencils
- Mask outlines predrawn and xeroxed for sketching mosaic mask designs
- ModPodge or a polymer gloss to coat the mosaic
masks to make sure all paper tiles are secure
LESSON:
WEEK ONE:
- Introduce the historical lesson
- Show examples of mosaics in general and mosaic masks
- Have students design a mask using the mask faces already drawn and copied.
- Encourage the use of the Visual and Design Elements
- Student shows teacher best 2 mask designs
- Teacher and Student decide on mask to be created
- Student adds crayon coloring to sketched mask
- Teacher and student review and make revisions to the color sketch of a mask.
WEEK TWO:
- Review historical mosaic mask lesson, asking for student answers
- Name on the back of the oak tag masks as you hand out
- Demonstrate gluing of paper tiles on mask
- Put glue on a small section of the mask at a time, then tiles in glue.
- Do not put too much glue on at a time, it will dry.
WEEKS THREE AND FOUR:
- Completion of gluing paper tiles
- Emphasizing looking at mosaic masks and changing from original design if
warranted.
- Cutting the outside edge of the mask to be more uniquely applicable to the
student's design
- Apply mod podge or polymer to hold the tiles secure
- Teacher/Student evaluation time

